How to Propagate Peanut Cactus (Echinopsis chamaecereus): A Simple Guide to Expanding Your Collection
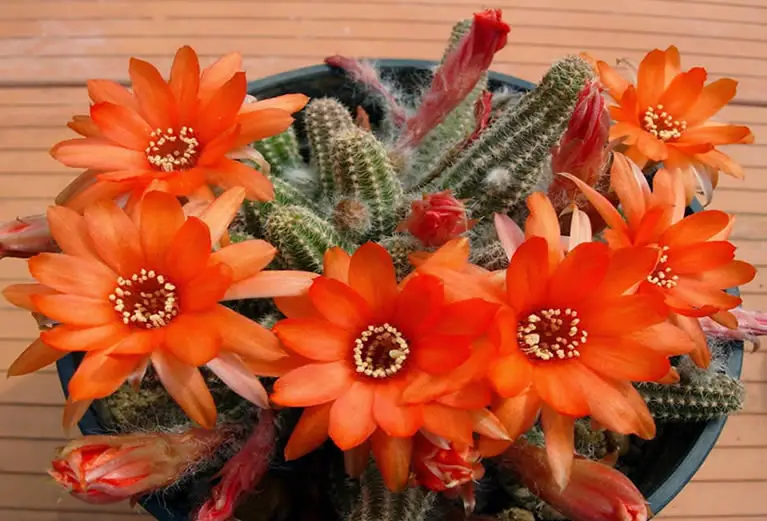
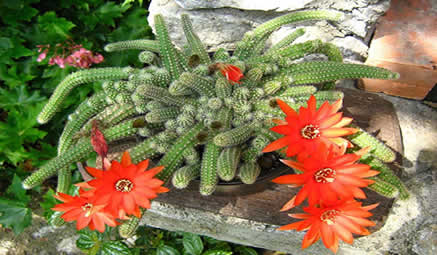
The Peanut Cactus is one of those joyful plants that practically invites you to multiply it. With its quirky finger-like stems, vibrant orange-red blooms, and fast-growing habit, it’s a favorite among cactus lovers—and thankfully, it’s also very easy to propagate. In this guide, you’ll learn the best methods to create new Peanut Cactus plants with confidence.
Table of Contents
What Makes Peanut Cactus Easy to Multiply
Native to the high-altitude regions of Argentina, Echinopsis chamaecereus is adapted to grow in rocky, well-drained soils with plenty of light and very little water.
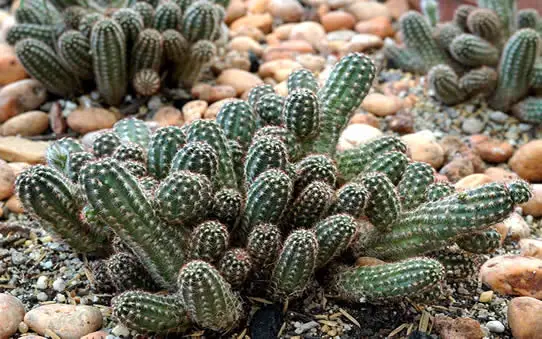
It naturally spreads by forming tight clusters of stems that root readily when they touch soil.
This growth pattern makes it perfect for propagation through cuttings, division, and even offsets.
These methods apply to all popular varieties, including ‘Lutea’, ‘Rose Quartz’, ‘Yellow Bird’, and ‘Arlequin’.
Propagation by Stem Cuttings
Stem cuttings are by far the easiest and most effective way to propagate Peanut Cactus.
-
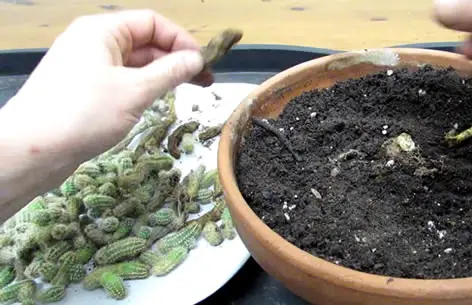
Choose a healthy stem: Select a firm, plump stem segment from the outer edge of the plant.
-
Cut cleanly: Use a sharp, sterilized blade to snip the stem at the base.
-
Let it callous: Place the cutting in a dry, shaded area for 3–5 days until a scab forms over the cut end.
-
Plant in dry soil: Insert the calloused end about an inch deep into a cactus mix or a sandy, well-draining blend.
-
Wait before watering: Hold off on watering for 5–7 days to allow the roots to begin forming, then water sparingly.
Rooting usually occurs within 2–3 weeks under warm, bright conditions.
Propagation by Division
If your Peanut Cactus is mature and forming a large clump, division is a quick way to get multiple new plants at once.
-
Remove the plant from its pot and gently loosen the soil around the roots.
-
Separate natural clusters: Pull or cut apart sections that have their own root systems or at least a few stems.
-
Let wounds heal: Allow any broken or freshly cut areas to dry and callous for a few days.
-
Replant each division in its own pot or space in the garden, using well-draining soil.
This method is perfect for rejuvenating older plants while giving you instant new growth.
Offsets and Natural Spread
Some varieties like Chamaelobivia ‘Yellow Bird’ or ‘Rose Quartz’ tend to send out offsets or runners.
-
Identify offsets: Look for small clusters of stems that are loosely attached to the main body.
-
Detach carefully: Gently twist or cut the offset from the parent plant.
-
Let them dry: Just like cuttings, give them a few days to callous before planting.
-
Pot and root: Use the same dry-soil method as for stem cuttings.
Offsets often root faster and more reliably than fresh cuttings because they’re already forming their own structures.
Water Propagation (Experimental but Possible)
While not common, water propagation is possible with Peanut Cactus—but it comes with a high risk of rot and should be approached as an experiment rather than a go-to method.
Because Echinopsis chamaecereus has soft, moisture-retaining stems, keeping them in water for too long can lead to decay.
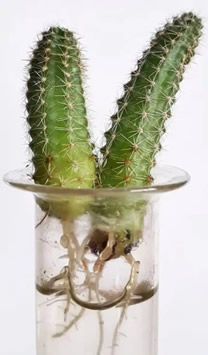
That said, some growers have had success when the conditions are carefully controlled.
-
Place the calloused stem cutting in a shallow glass with just the very tip touching the water.
-
Use clean, room-temperature water and keep the glass in bright, indirect light.
-
Change the water every few days to prevent stagnation.
Bonus Tip: Add a few drops of diluted cactus-safe fertilizer (such as a 2-7-7 blend like this one) once a week to encourage root development.
When to Transplant:
Once you see healthy roots about ½ to 1 inch long, transfer the cutting into dry cactus soil and water lightly after a few days.
Water propagation can work—but it’s not recommended for beginners or for precious varieties.
Soil-based propagation is still the safest and most reliable option for Peanut Cactus.
Outdoor Propagation Tips
In warm climates (zones 10–11), you can propagate Peanut Cactus outdoors with great success.
-
Wait until spring or early summer for ideal rooting temperatures.
-
Propagate in a shaded or semi-shaded area to avoid intense sun on tender new cuttings.
-
Use terracotta or breathable pots with sandy soil for best results.
If your climate is too wet or cold, stick to indoor propagation or keep outdoor containers in a protected spot.
Common Propagation Issues and Fixes
Rotting cuttings: This usually means the soil was too wet or the cutting wasn’t dry enough. Always let them callous before planting and water only when the soil is fully dry.
Shriveled stems: Mild dehydration during rooting is normal. If stems are overly wrinkled or collapsed, move them to a cooler area and mist the soil lightly once.
No root growth: This can happen in low light or during cooler months. Try adding warmth or using a heat mat to speed things up.
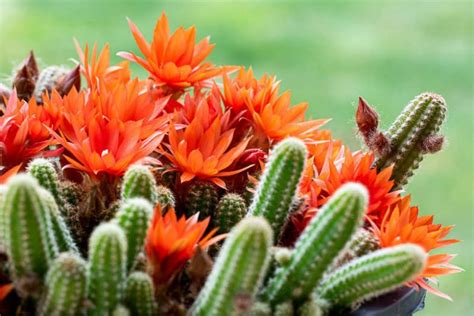
Popular Peanut Cactus Varieties to Propagate
If you’re looking to grow the most eye-catching types, here are some of the most popular Peanut Cactus varieties, especially those frequently seen on Pinterest:
-
Echinopsis chamaecereus ‘Lutea’ – Yellow stems and a sunny, citrus-like appearance.
-
Chamaelobivia ‘Rose Quartz’ – Bright pink flowers with compact growth.
-
Chamaelobivia ‘Yellow Bird’ – Prolific bloomer with cheerful yellow flowers.
-
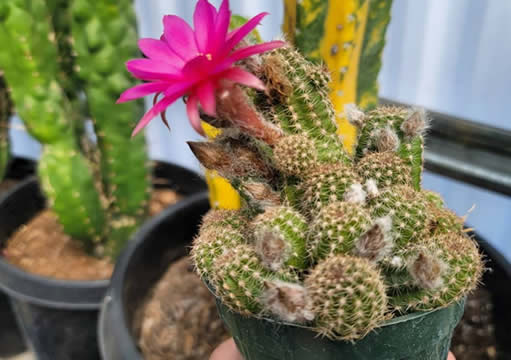
Chamaelobivia ‘Arlequin’ – Unique blend of colors in one flower, ranging from pink to orange.
Each of these follows the same propagation methods described above.
Final Thoughts
Propagating Peanut Cactus is easy, fast, and a lot of fun.
Whether you’re starting with a simple cutting or dividing a sprawling clump, these charming little cacti respond well to attention and thrive with minimal fuss.
With just a few pieces and some patience, you’ll soon have a full tray of quirky, flowering beauties ready to share—or keep all to yourself.
Be sure to read our guidelines for caring for your Peanut Cactus in the guide Peanut Cactus Care: A Guide to Growing Echinopsis chamaecereus.
Thanks for reading! I'm Michael — houseplant fanatic and your Pinterest plant guide.
Follow me on Pinterest for fresh updates 🌿


