How to Propagate Lithops (Lithops spp.): A No-Nonsense Guide to Multiplying Living Stones
Lithops may look like little pebbles, but they’re living plants with fascinating growth habits—and yes, you can propagate them at home. While they’re slower to multiply than other succulents, the process is surprisingly simple once you understand how these quirky beauties operate. This guide walks you through every practical method for propagating Lithops, so you can expand your collection with confidence.
Table of Contents
What Makes Lithops Propagation Unique
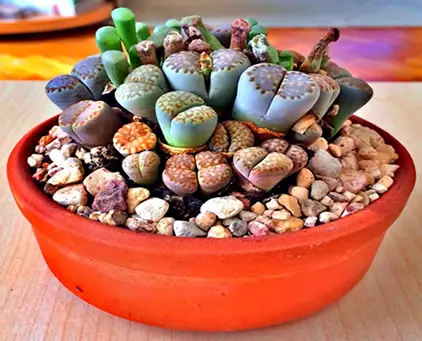
Lithops are native to southern Africa, where they’ve evolved to blend in with rocky terrain as a survival mechanism.
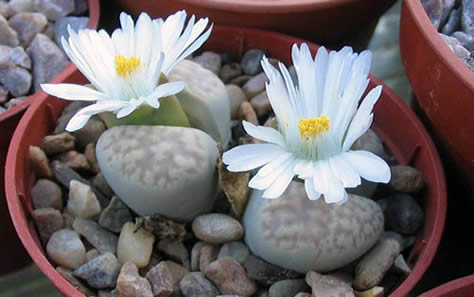
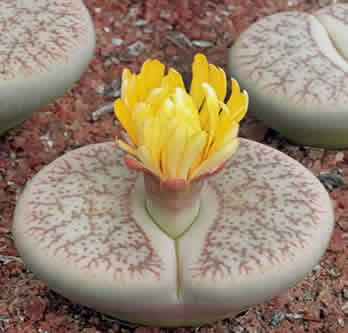
They grow in pairs of thick, fused leaves and typically bloom once a year.
Unlike most succulents, Lithops don’t branch or offset freely, which means propagation requires more patience and careful timing—but the payoff is worth it.
These methods apply to all popular Lithops varieties, including aucampiae, lesliei, karasmontana, salicola, hookeri, dorotheae, julii, optica ‘Rubra’, fulviceps, and marmorata.
Propagation by Seed
This is the most common and reliable method to propagate Lithops, especially since offsets are rare.
-
Collect or buy fresh seeds: You can harvest seeds after flowering, or purchase them from a reputable source.
-
Prepare your soil: Use a sterile, well-draining cactus or succulent mix. Add extra sand or pumice for better drainage.
-
Sow the seeds: Scatter seeds thinly on the surface—do not cover them, as light helps trigger germination.
-
Mist lightly: Use a spray bottle to moisten the soil without displacing the seeds.
-
Cover with a humidity dome or clear plastic wrap: This keeps the environment moist and warm.
-
Place in bright, indirect light: Avoid harsh sunlight during germination.
-
Wait for sprouts: Germination usually occurs in 1 to 3 weeks, but can take longer depending on conditions.
-
Remove cover and reduce moisture: Once seedlings appear, gradually reduce humidity and allow the soil to dry slightly between light mistings.
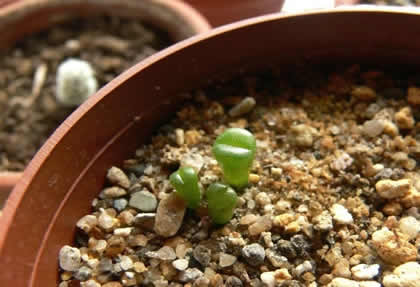
Lithops seedlings
Seedlings grow very slowly and may take a year or more to resemble adult Lithops, but this method gives you the best shot at growing a variety of colors and patterns.
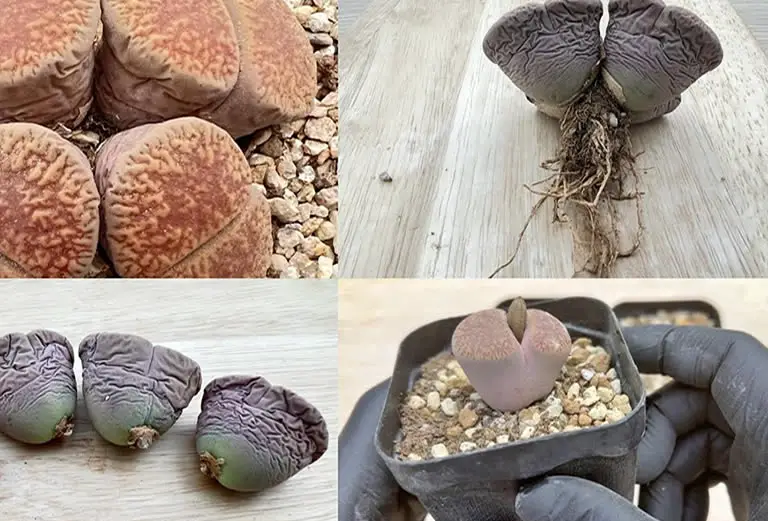
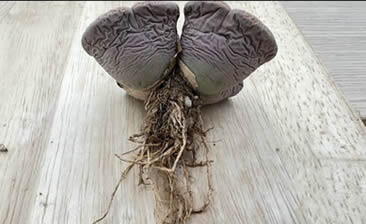
Division (When and How to Separate Clumps)
Some mature Lithops may form clusters over time, especially species like karasmontana or hookeri.
These can be divided when multiple heads are growing from the same root system.
-
Wait until the plant is dormant: Late spring or early summer is ideal.
-
Remove the plant from the soil: Gently brush away the roots and inspect the clump.
-
Separate heads: If natural divisions are visible and you can gently tease apart the roots without damage, divide the clump.
-
Let any breaks callous: If you needed to cut, allow the wound to dry for 3–5 days in a shaded area.
-
Replant in dry, gritty soil: Don’t water immediately—wait at least 5–7 days before lightly watering the newly potted divisions.
This method works best with older, well-established plants that have naturally split and multiplied over time.
Water Propagation (Not Recommended)
Unlike many succulents, Lithops should not be propagated in water.
Their fleshy, compact bodies and slow metabolism make them prone to rot in high-moisture environments.
Stick with soil-based propagation for best results.
Bonus Tip for Seedlings
Once your Lithops seedlings have developed their first true leaf pair (this may take months), begin watering very sparingly.
Add a few drops of diluted succulent-safe fertilizer (such as one with an NPK of 2-7-7 like this one) to your misting water during the early growth phase to gently boost development.
Just be sure the solution is very mild—these little guys are sensitive to overfeeding.
Outdoor Propagation Tips
Can you propagate living stones outdoors?
If you live in a warm, dry climate (zones 10–11), you can start Lithops seeds or grow young plants outdoors:
-
Use shallow, well-draining containers.
-
Provide partial shade to protect tiny seedlings from direct sun.
-
Avoid outdoor propagation during rainy or humid seasons.
-
Bring young plants indoors if temperatures drop below 50°F (10°C).
Wind and pests can disturb tiny seeds or new growth, so keep them in a protected area like a covered patio or greenhouse if possible.
Common Problems During Propagation
Mold or damping off: Caused by excess moisture and poor airflow.
Always sterilize containers and soil before sowing.
No germination: Seeds may be old or too deeply buried.
Try again with a fresh, shallow surface sow.
Shriveling seedlings: Usually a sign of underwatering after removing the humidity dome.
Mist lightly, don’t soak.
Rot in young plants: Often caused by watering too soon or too deeply.
Let the surface dry completely between mistings.
Final Thoughts
Propagating Lithops isn’t fast—but it’s deeply satisfying.
Whether you’re sowing seeds or dividing a mature clump, this process invites you to slow down and tune into the rhythm of a plant that’s all about patience and precision.
With the right soil, a gentle hand, and just enough light and water, you’ll soon be growing your own collection of living stones—each one unique and utterly mesmerizing.
For the care needs of Lithops , and to discover the most popular varieties of these ‘living stones’, check out our article Lithops Care: Mastering the Art of Growing Living Stones.
Thanks for reading! I'm Michael — houseplant fanatic and your Pinterest plant guide.
Follow me on Pinterest for fresh updates 🌿


