How to Propagate Kalanchoe (Kalanchoe spp.): The Easy Way to Multiply These Stunning Succulents
Kalanchoes are not only beautiful—they’re also incredibly easy to propagate. Whether you’re growing a blooming variety like Kalanchoe blossfeldiana or a sculptural favorite like K. tomentosa, these succulents can be multiplied through several simple methods. In this guide, you’ll learn how to propagate Kalanchoe successfully at home.
Table of Contents
Why Kalanchoes Are So Propagation-Friendly
Native to Madagascar and other tropical regions, Kalanchoes are adapted to grow in tough conditions and often reproduce on their own.
Some species produce plantlets along their leaf edges, while others send out offsets or respond well to stem cuttings.
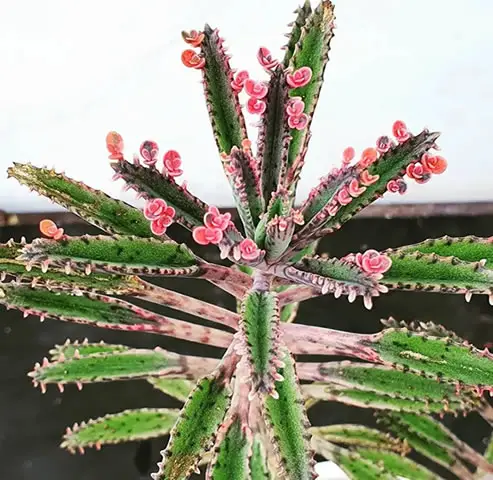
The methods below apply to all popular varieties, including blossfeldiana, dragonfire, daigremontiana, beharensis, thyrsiflora, tomentosa, luciae, silver spoons, fedtschenkoi, pumila, and orgyalis.
Leaf Plantlets (for Mother of Thousands types)
If you’re working with Kalanchoe daigremontiana or similar types that form baby plants along their leaf edges, propagation is almost effortless.
-
Wait until the tiny plantlets begin to drop off naturally or can be gently removed.
-
Scatter the plantlets on top of a shallow tray filled with succulent soil.
-
Lightly mist the soil and place the tray in bright, indirect light.
-
Once roots form and the plantlets start to grow upright, transplant them into small individual pots.
These plantlets contain everything they need to grow and often root within a few days.
Stem Cuttings
This is the most reliable propagation method for most Kalanchoe varieties, including blossfeldiana, luciae, tomentosa, and orgyalis.
-
Use a clean, sharp blade to cut a healthy stem segment about 4–6 inches long.
-
Remove the lower leaves, leaving at least 2–3 leaf nodes bare.
-
Let the cutting dry and callous for 2–3 days in a shaded spot.
-
Insert the stem into a small pot of dry, well-draining soil.
-
Wait a few more days, then water lightly.
Roots should begin to form within 2–3 weeks. New growth signals success.
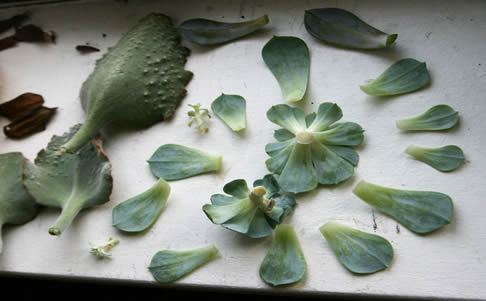
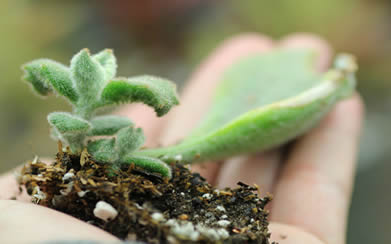
Leaf Cuttings
Some varieties like Kalanchoe tomentosa, fedtschenkoi, and beharensis can also be propagated from individual leaves.
-
Gently twist off a healthy, mature leaf from the base of the plant.
-
Let the leaf dry for 2–5 days until the cut end callouses.
-
Place the leaf flat on top of dry soil or prop it upright with the end slightly buried.
-
Mist occasionally to keep the soil barely moist.
-
Watch for roots or baby plants forming at the base over the next few weeks.
Note that this method doesn’t work as well for all Kalanchoe species—stem cuttings are often more reliable.
Water Propagation
Water propagation can work for soft-stemmed Kalanchoe varieties like blossfeldiana and fedtschenkoi.
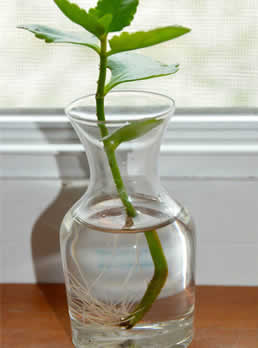
-
Take a stem cutting as described above.
-
Remove the lower leaves and place the cut end in a jar of clean water.
-
Make sure only the stem—not the leaves—is submerged.
-
Place in bright, indirect light and change the water every few days.
-
Once roots appear, transfer to soil.
Bonus tip: Add a few drops of diluted succulent-safe liquid fertilizer, such as one with an NPK ratio of 2-7-7 like this one, to the water to speed up root growth.
This method works best indoors and can be a fun visual way to track root development.
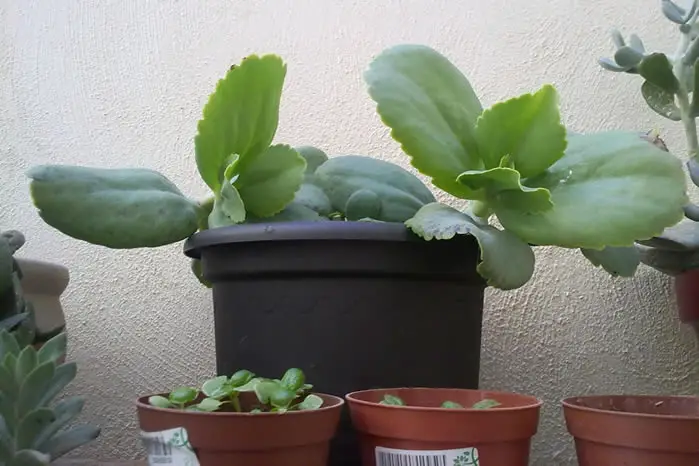
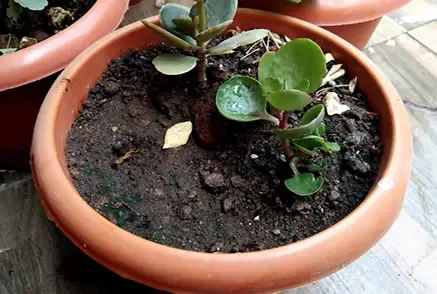
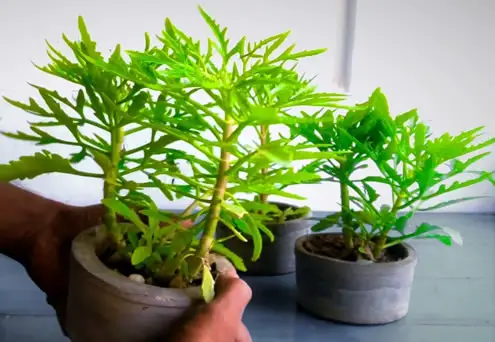
Offsets and Basal Shoots
Some bushier types like luciae, tomentosa, and silver spoons may send out basal offsets or side shoots.
-
Gently separate the offset from the mother plant using a knife or by hand.
-
Make sure the offset has its own root system or a section of stem.
-
Let it callous for a couple of days, then plant it in dry succulent soil.
-
Water lightly once the roots have settled.
This method is ideal for rejuvenating an older, overgrown plant while creating new ones.
Seed Propagation
Growing Kalanchoe from seed is less common, but possible for collectors or hybridizers.
-
Use a well-draining seed-starting mix and scatter the seeds on the surface.
-
Do not cover the seeds—light helps trigger germination.
-
Mist lightly and cover with a clear lid or plastic wrap to maintain humidity.
-
Place in bright, indirect light.
-
Seeds typically germinate in 10–21 days.
This method is best used for flowering types like blossfeldiana, especially if you’re trying to grow them in bulk.
Outdoor Propagation Tips
If you’re propagating outdoors in a warm climate:
-
Choose spring or early summer for best results.
-
Use sandy, gritty soil and ensure full drainage.
-
Protect young cuttings or plantlets from heavy rain and direct midday sun.
-
Space new plants at least 6–12 inches apart, depending on their mature size.
If temperatures drop below 50°F (10°C), bring your cuttings or trays inside until conditions are warm again.
Common Propagation Issues and Fixes
Rotting cuttings: Caused by planting too soon or too deeply.
Let cuttings callous and avoid watering too early.
Wilting or no roots: May occur if light is too low or humidity is too high.
Improve airflow and light levels.
Slow growth: Some species take time to root.
Be patient and avoid overwatering.
Leaf drop in water: Cuttings may rot if too much of the stem or any leaves are submerged.
Keep water levels low.
Final Thoughts
Kalanchoe propagation is as fun and colorful as the plants themselves.
Whether you’re collecting vibrant bloomers or sculptural foliage types, you’ll find that multiplying your favorites is easy and deeply satisfying.
Just a few cuttings or plantlets can turn into a whole tray of thriving new plants—perfect for gifts, swaps, or expanding your own collection.
Be sure to read our article Kalanchoe Care: How to Grow These Bold, Colorful Succulents Indoors and Out so you know how to care for your plants when they start to grow.
Thanks for reading! I'm Michael — houseplant fanatic and your Pinterest plant guide.
Follow me on Pinterest for fresh updates 🌿


